


Brake Pad Replacement Kit

In this post you will learn how easy it can be to change your brake pads, espcially when you have the right tools for the job.
The Gear Your Need


Brake Pad Replacement: Everything You Need to Know — How to Change Brake Pads (2016 VW Golf GTI)
Follow these steps to change brake pads on your car — the process is fast, economical, and something most DIYers can handle.
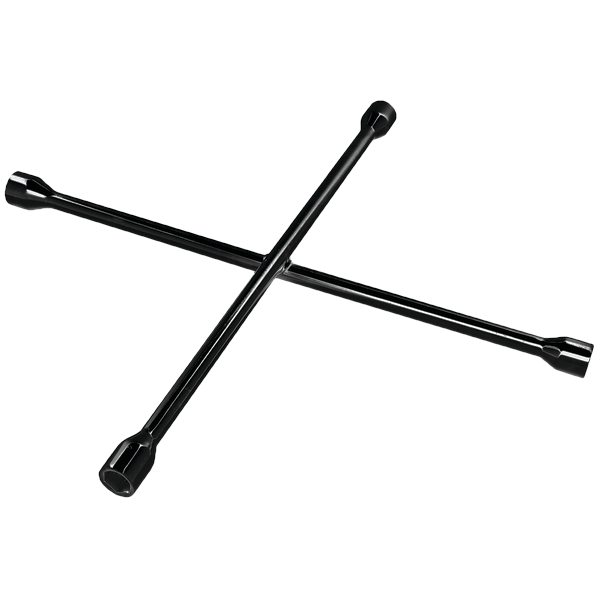
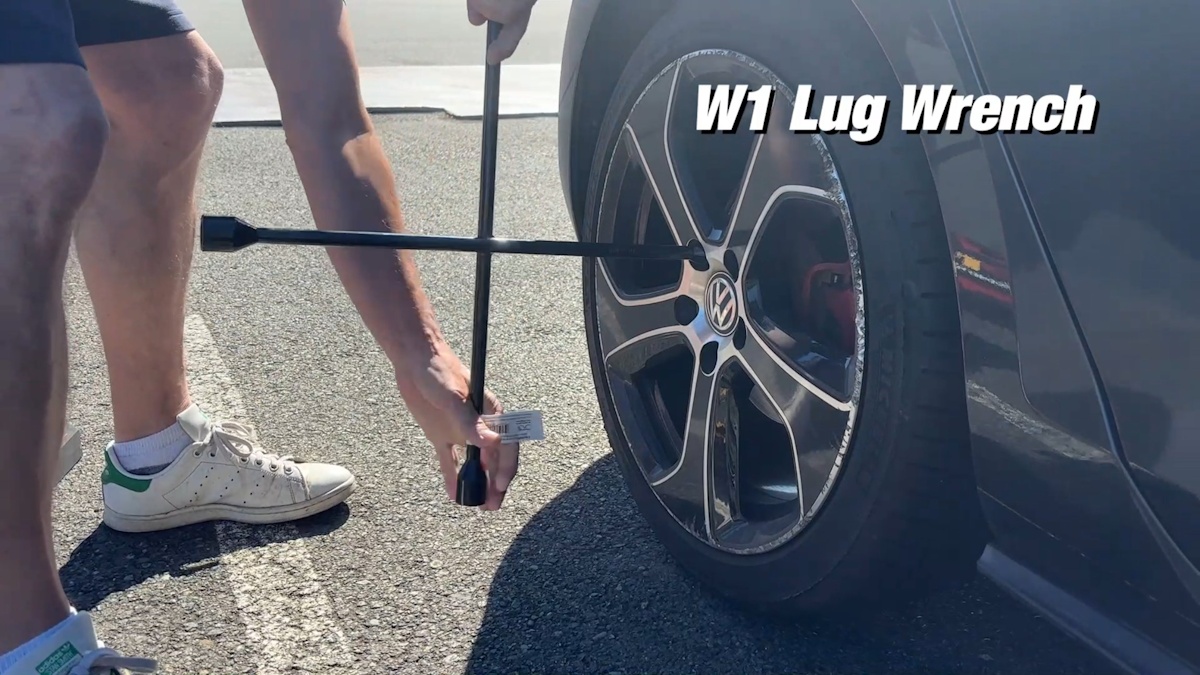
Step 1: Prepare and loosen the lug nuts
Before you lift the car, loosen the lug nuts (the W1 is a great lug wrench) while the wheel is still on the ground. This makes removal much easier once the car is in the air. You'll fully remove the lug nuts once the vehicle is lifted up.
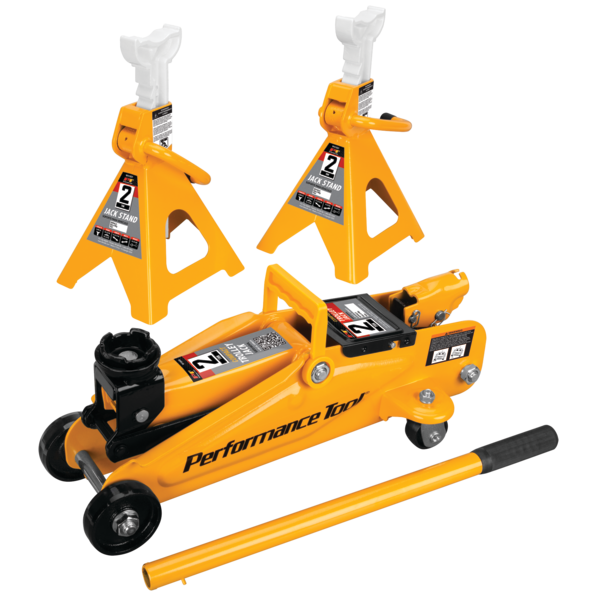
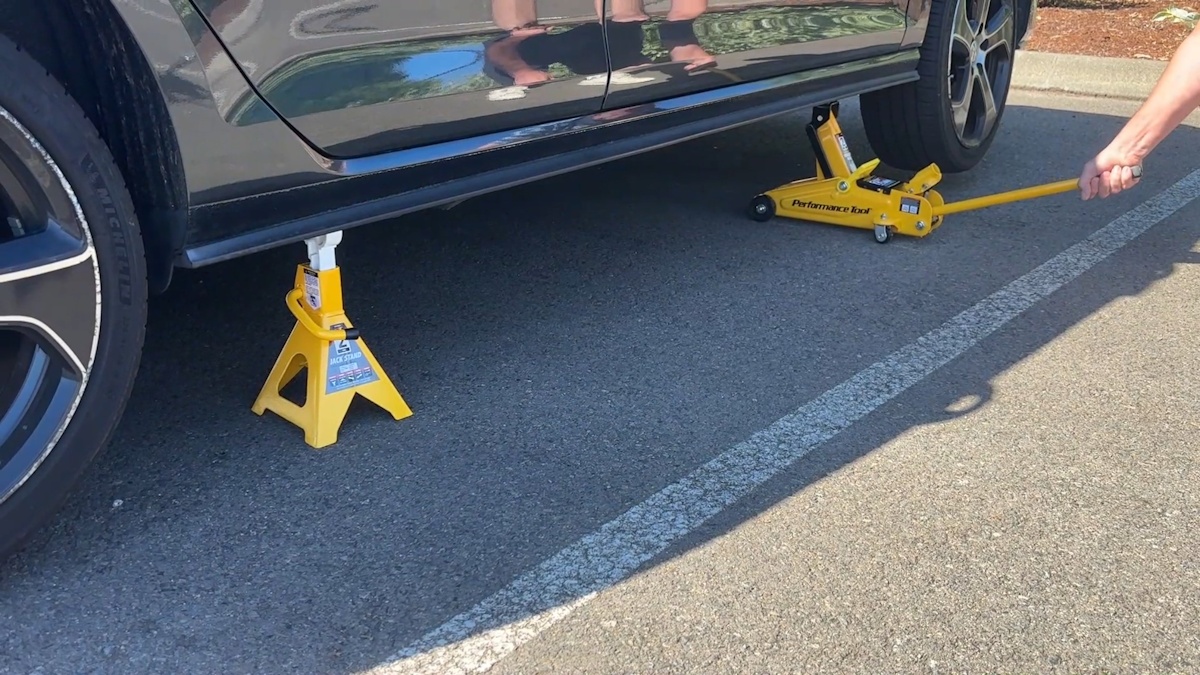
Step 2: Lift the car and secure it safely
Use a floor jack at the jack points specified in your owner's manual and then carefully place the jack stand. Never rely on the jack alone. Lower the car carefully onto the stand and double-check that it’s stable before removing the floor jack and the wheel.
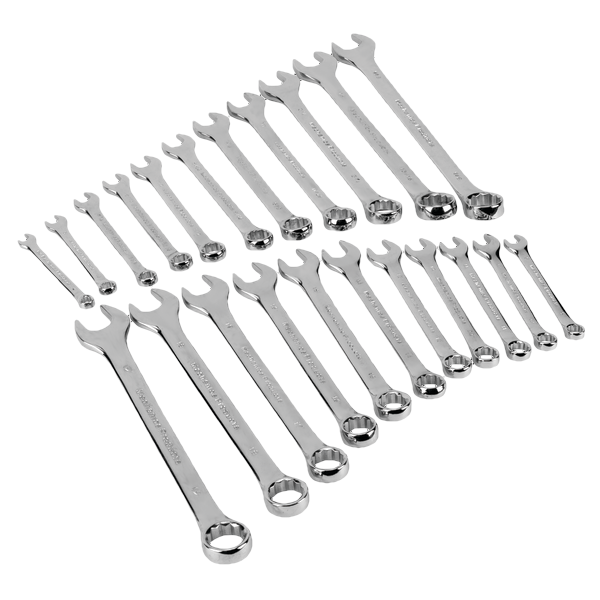
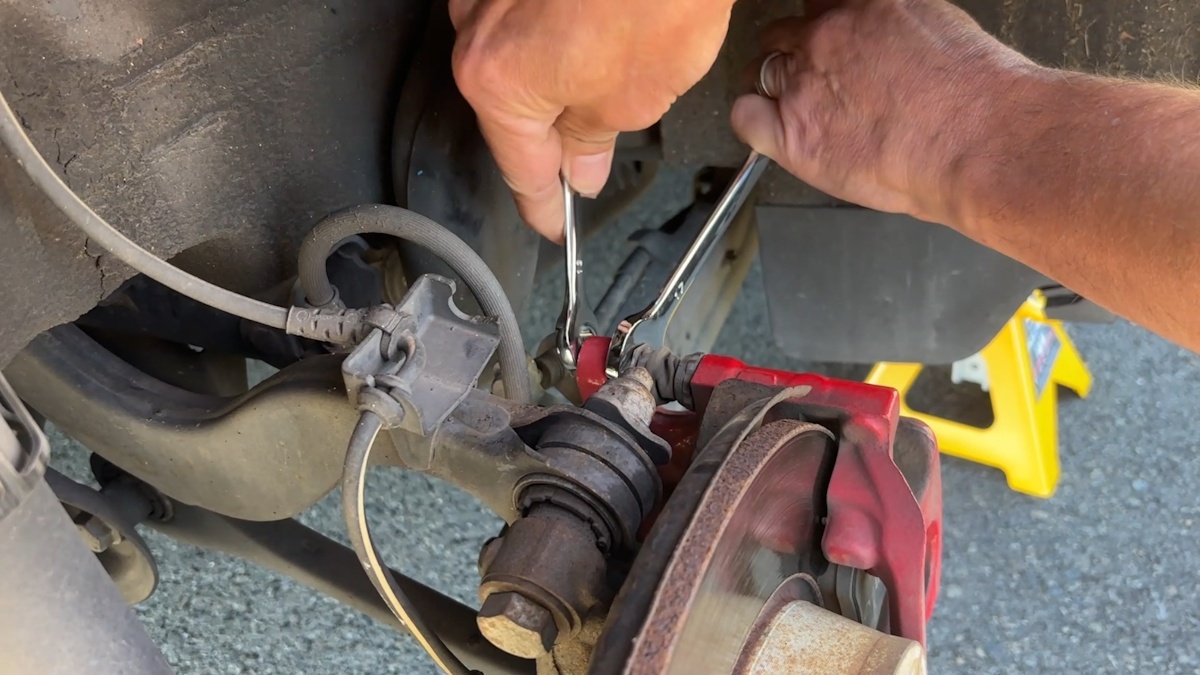
Step 3: Remove the wheel and access the caliper
Fully remove the lug nuts and the wheel. Locate the caliper carrier bolts on the rear of the caliper; most calipers have one bolt at the top and one at the bottom securing the assembly. Note that some vehicles have bolts that will require a hex or star bit to loosen. You will likely need to hold the nut with a wrench while turning the bolt. With the carrier bolts removed, move the caliper assembly out of the way so you can access the pads.
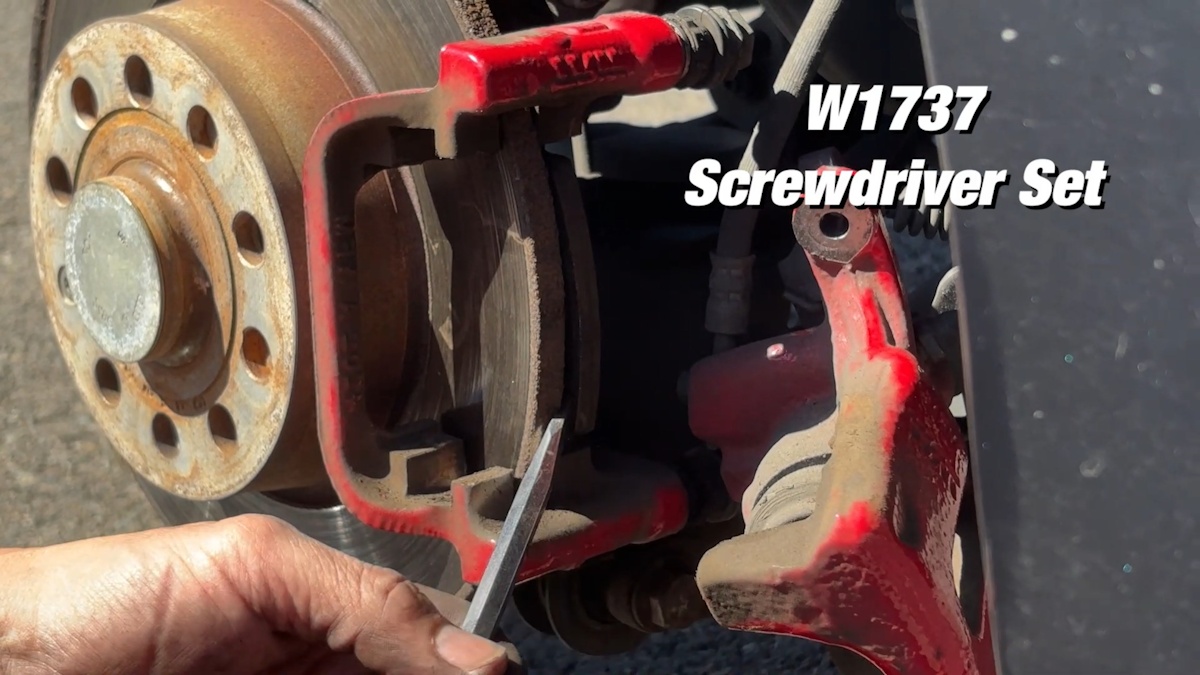
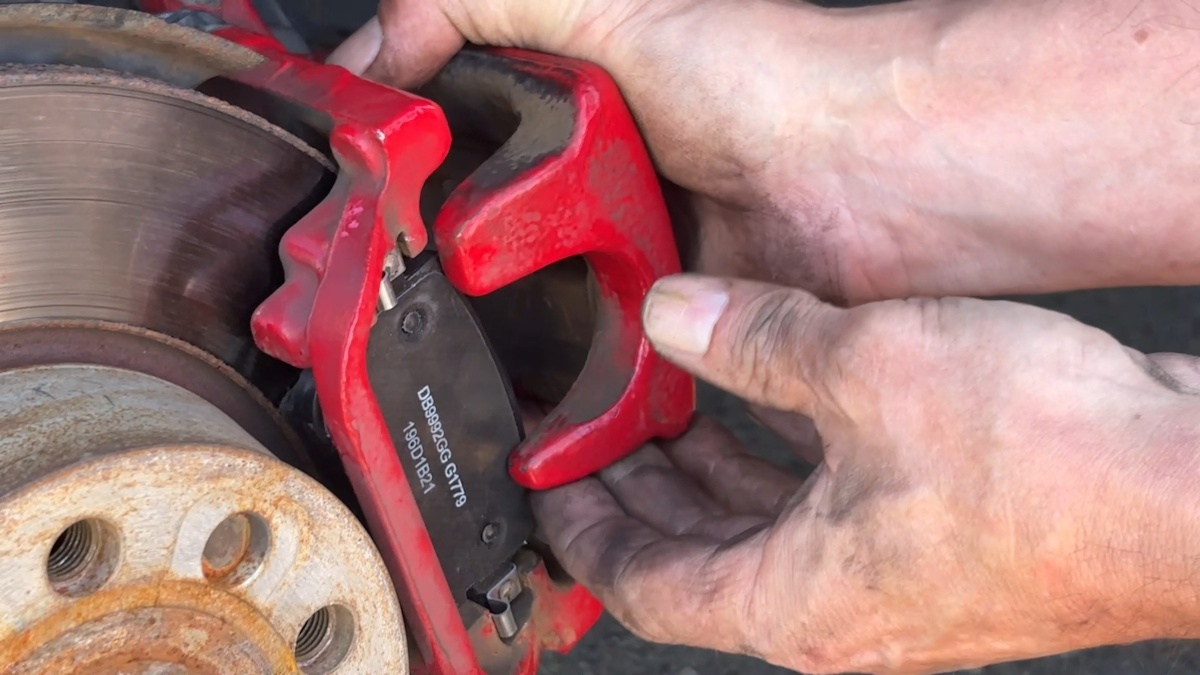
Step 4: Remove the old pads and check fitment
Use a screwdriver or a similar tool to lift the old pads off the rotor. Some pads are held by clips — remove or release those as needed. Always compare the new pads to the old ones to confirm they match in size and shape before installation. A proper fit is imperative so your brakes work correctly.
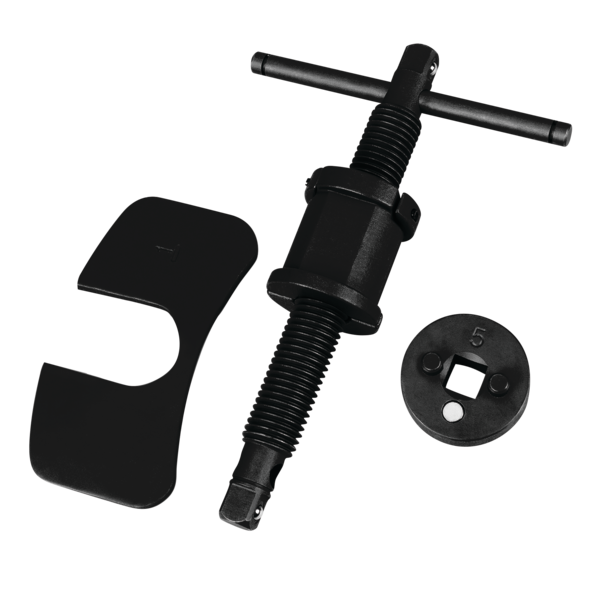
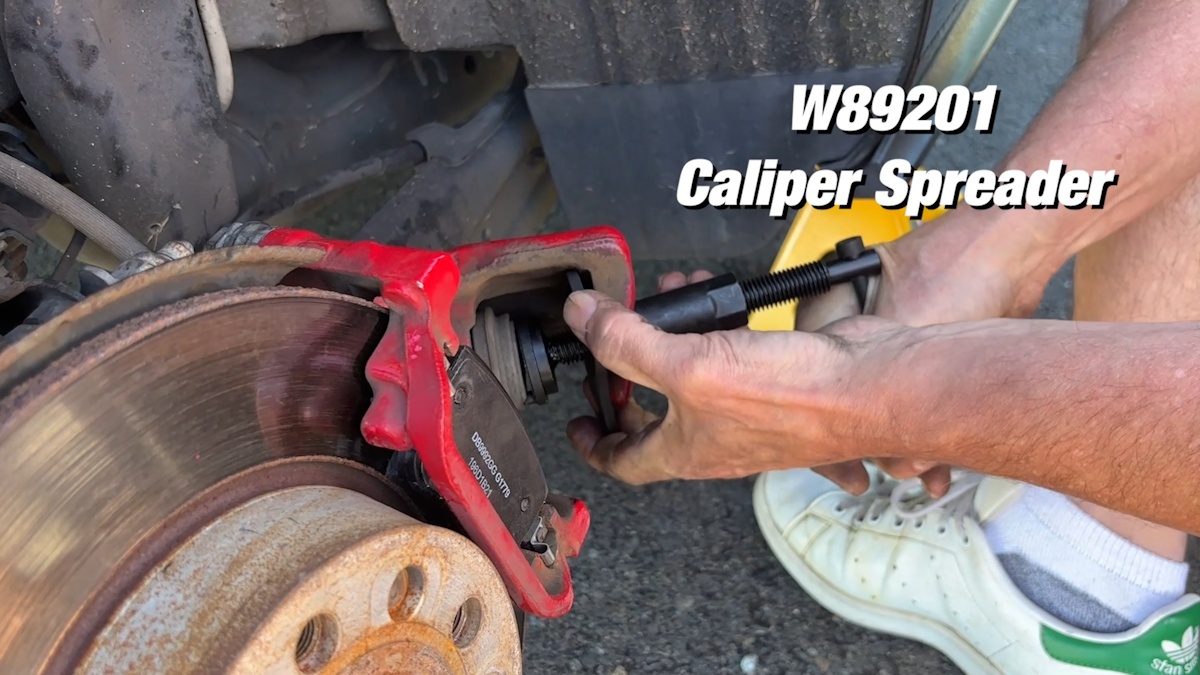
Step 5: Retract the piston to make room for thicker pads
New pads are thicker than worn pads, so the brake piston needs to be pushed back into the caliper. On many Volkswagen models (including this 2016 GTI), the piston must be rotated to retract. Use a windback piston tool designed for this task to spin and compress the piston evenly.
Watch the brake fluid level in the reservoir as you push the piston back. Compressing the caliper can force fluid up, and you want to avoid spills. If the reservoir is near full, remove a bit of fluid into a clean container first or have a rag ready to catch any overflow.
Step 6: Install the new pads and reassemble the caliper
Reinstall the caliper over the pads and rotor, then torque the carrier bolts to the manufacturer's specification. Ensure that the assembly is secure and that all bolts are tightened completely.
Step 7: Reinstall the wheel and lower the vehicle
Reinstall the wheel and start the lug nuts by hand. Lift the vehicle slightly with the jack to remove the jack stand, then lower the car to the ground. Tighten the lug nuts to the proper torque in a star pattern to reduce the risk that the lug nuts will strip.

Step 8: Repeat for the other side and test
Repeat the entire process for the opposite wheel. Once both sides are complete, start the car and carefully press the brake pedal several times with the vehicle parked to seat the pads against the rotors. On your first drive, test the brakes at low speed to confirm the pedal is firm and the brakes stop the car effectively.

Quick tips and safety reminders
- Always use jack stands: Never rely on a jack alone to support the vehicle.
- Match parts: Verify the new pads match the old pads in shape and size.
- Tool choice: A windback piston tool makes retracting VW pistons easy and prevents damage. An alternative option for other vehicle types is a gearless pad spreader.
- Test drive: Set and confirm the brakes work correctly before you drive on the road.
Changing brake pads is one of the most rewarding and economical maintenance tasks you can do. With the right tools, anyone can change their brakes. If you're ready to try it yourself, our Brake Pad Replacement kit makes it simple.