How to Change Your Oil and The Tools You'll Need
Changing your own oil may seem intimidating at first, but with the right tools, it’s easy and cost effective. Using our 2003 Toyota Corolla, we’ll walk you through the entire oil change process. This guide is perfect for beginners who want to save money, take care of their car, and gain confidence in basic vehicle care.
Why Changing Your Oil Matters
Regular oil changes are essential for maintaining your engine’s health. Clean oil lubricates engine parts, reduces friction, and helps prevent overheating. Over time, oil breaks down and collects dirt and debris, which can harm your engine and reduce fuel efficiency. By changing your oil regularly, you extend the life of your car and keep it running smoothly.
Tools You’ll Need
For this oil change, we used a Performance Tool oil change kit. Here’s a simple list of tools you’ll need to get started:
- W41013 13,000 lb. GVW Vehicle Ramps
- W4077 16-Quart Oil Drain Container
- W85018 Z-Frame Folding Creeper
- W1173 40-Piece Socket Set (or consider a W38914 for this particular job)
- W54053 Oil Filter Wrench (you can use the fluted or band type if it will fit, we used this for the Corolla)
- W4051 Clear View Funnel
- W89011 Nitrile Gloves
- Rag or paper towels for cleanup
These tools make it simple to do the job quickly, safely, and cleanly.
Step-by-Step Oil Change Process
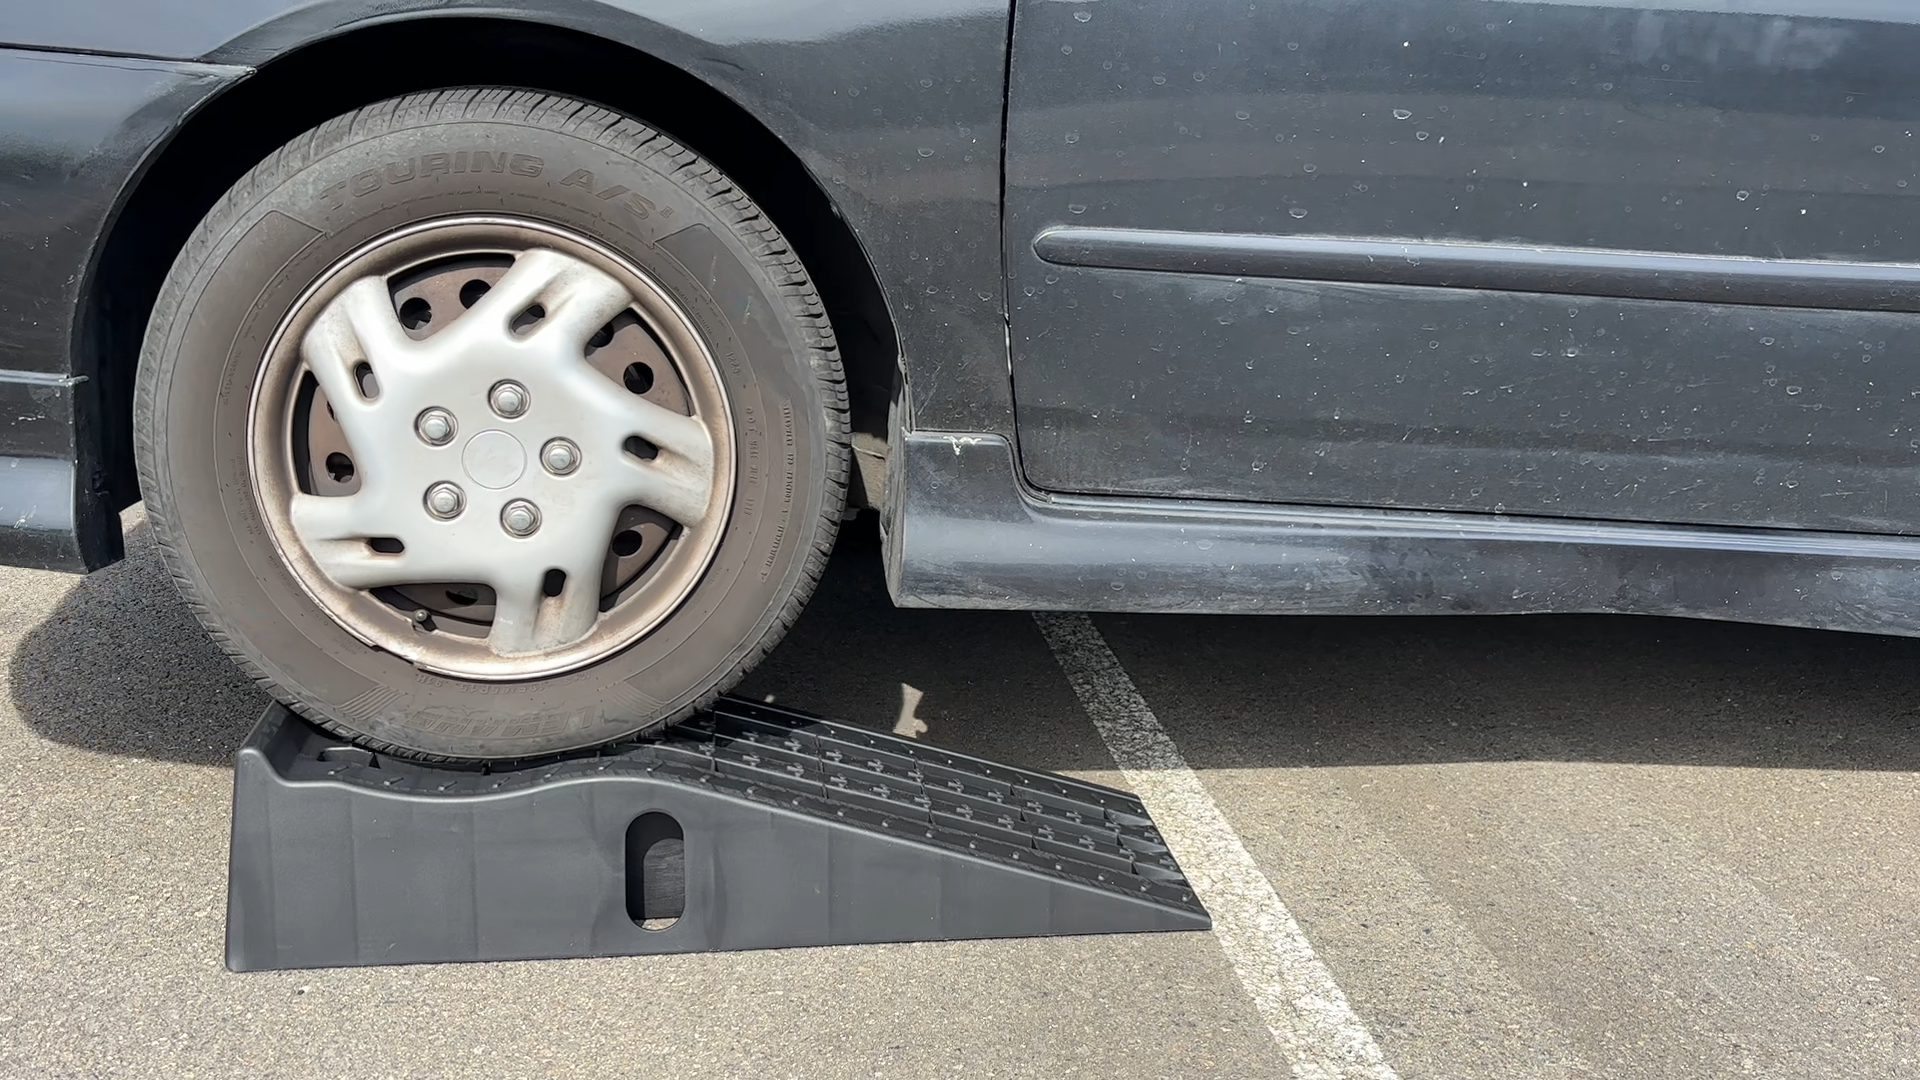
1. Prepare Your Vehicle
Start by rolling your vehicle onto ramps. It’s crucial to ensure the car is stable and that both wheels are centered on the ramps before you get underneath.
2. Protect Your Hands
We like to put on nitrile gloves to keep our hands clean and maintain dexterity while working.
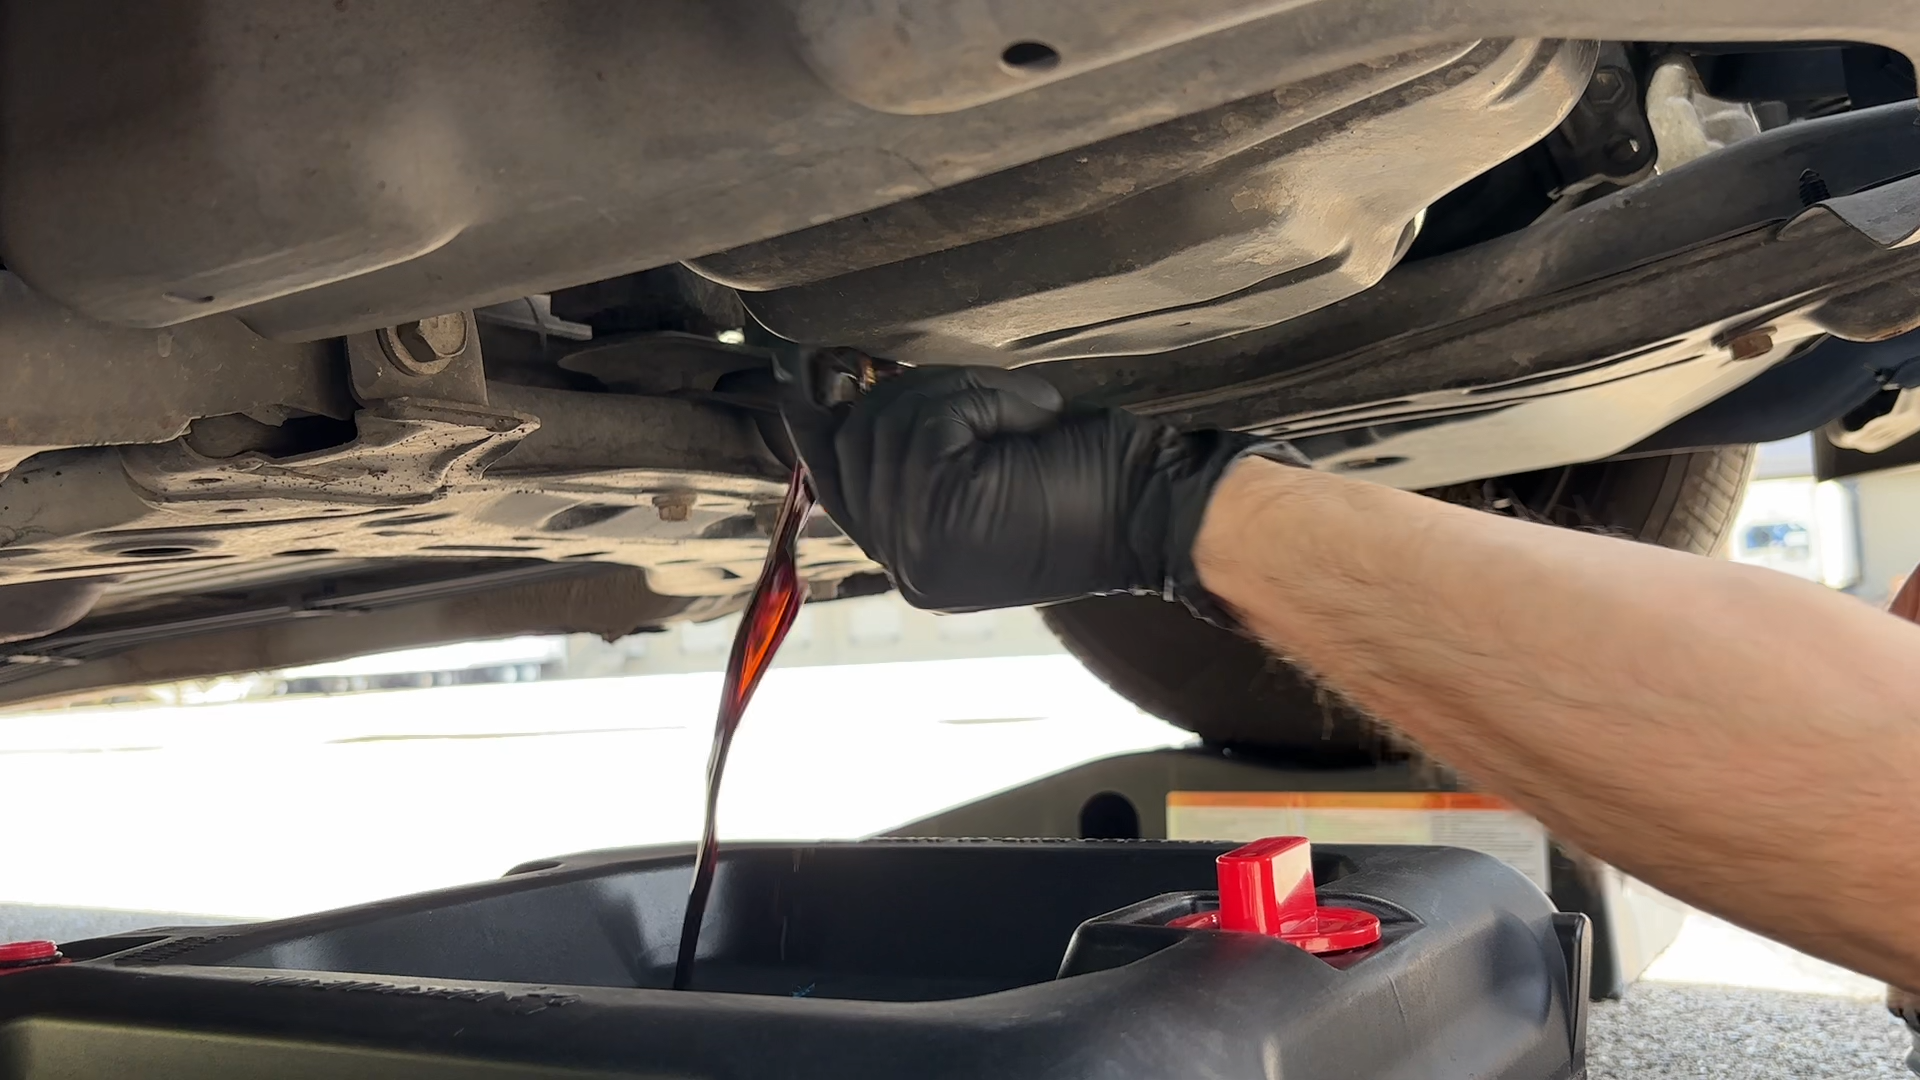
3. Drain the Old Oil
Place your drain container in position to catch the oil. Using a socket, loosen the drain plug and then spin it off by hand. Be prepared for oil to spill as you remove the plug.
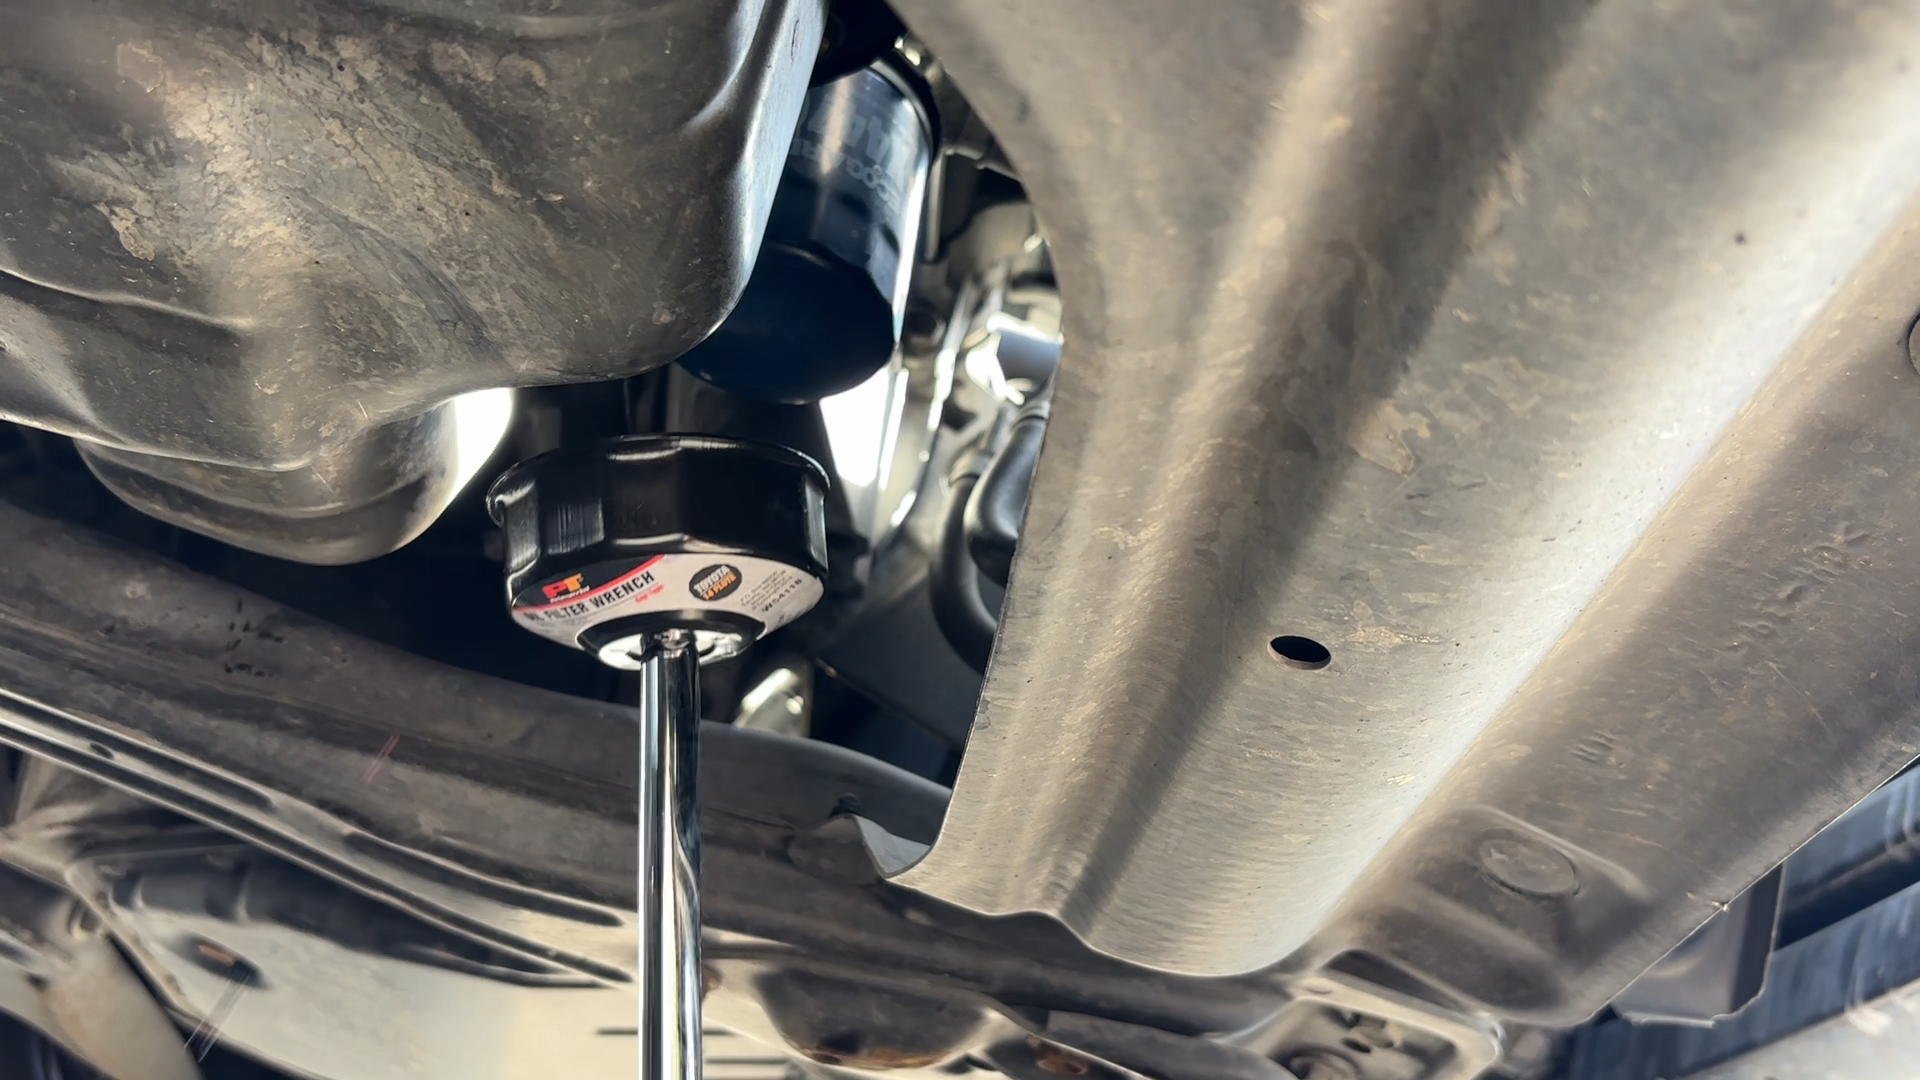
4. Remove the Oil Filter
For this Toyota Corolla, we used a fluted filter wrench made specifically for this model. If you don’t have this wrench, a band filter wrench can work as long as it fits in the space available. Be ready for oil to spill from the filter as you remove it.
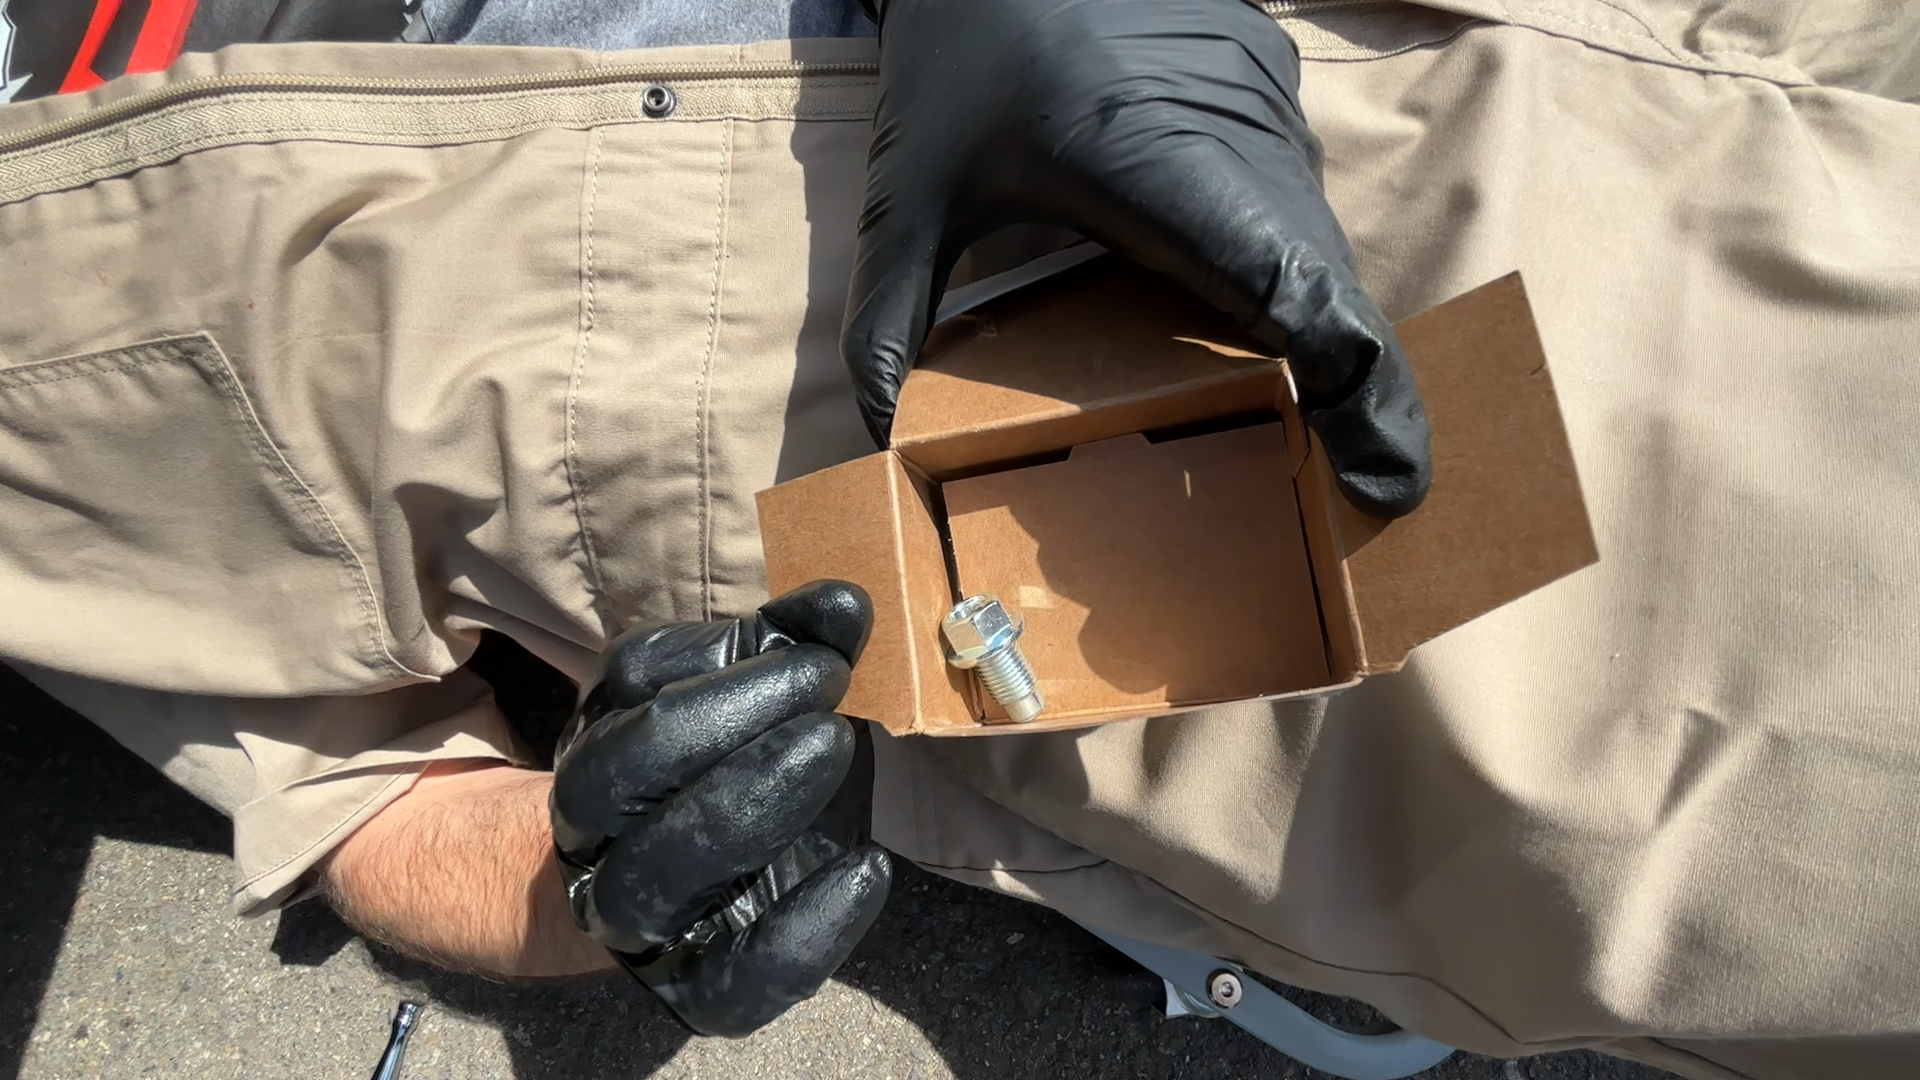
5. Replace the Drain Plug
Most manufacturers recommend replacing the drain plug with a fresh one every time you change your oil to avoid leaks and thread damage. Tighten the new or reused plug securely, enough to prevent leaks but not so tight that you risk stripping the threads.
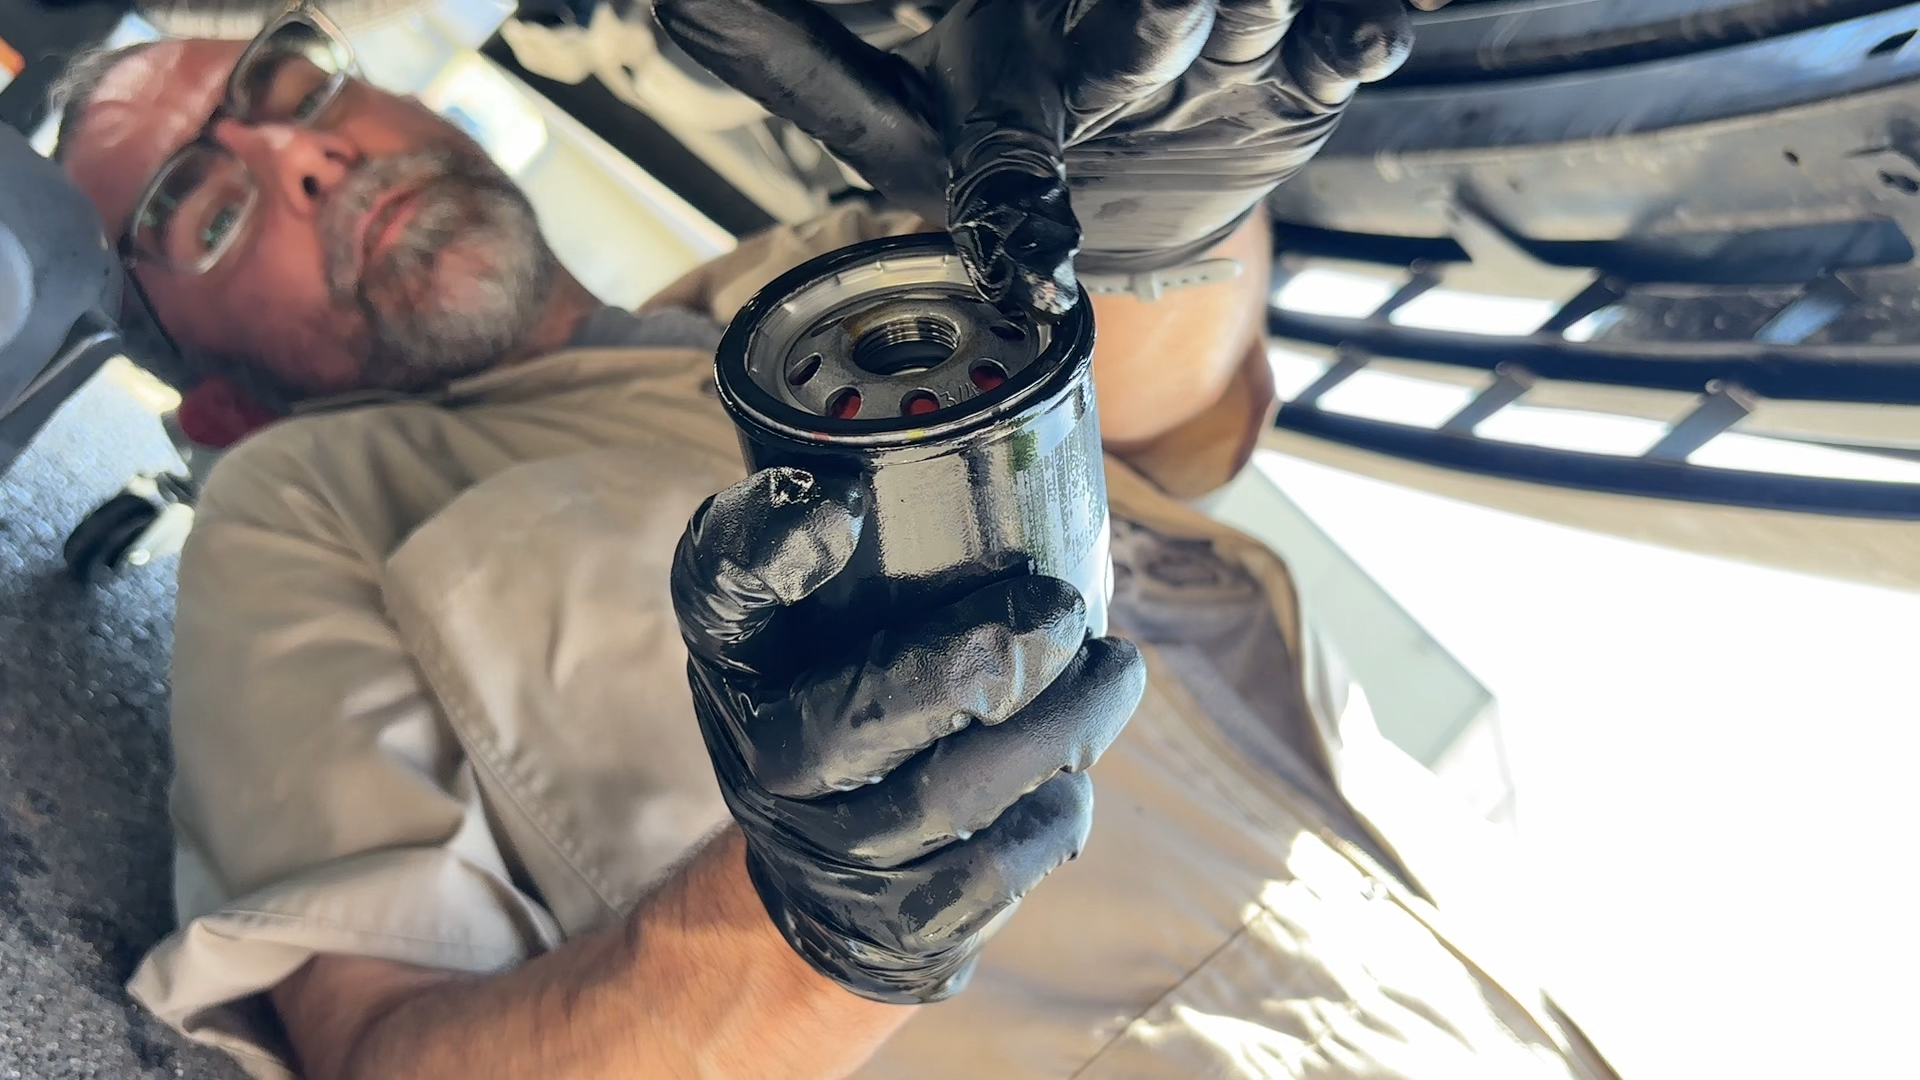
6. Prepare and Install the New Oil Filter
Before installing the new oil filter, rub a small amount of fresh oil on the filter’s O-ring. This lubricates the seal and makes the next oil change easier. Use the same filter wrench to tighten the new oil filter, or just do so by hand. It should be snug enough to prevent leaks but not overly tight to the point where removal will be difficult.
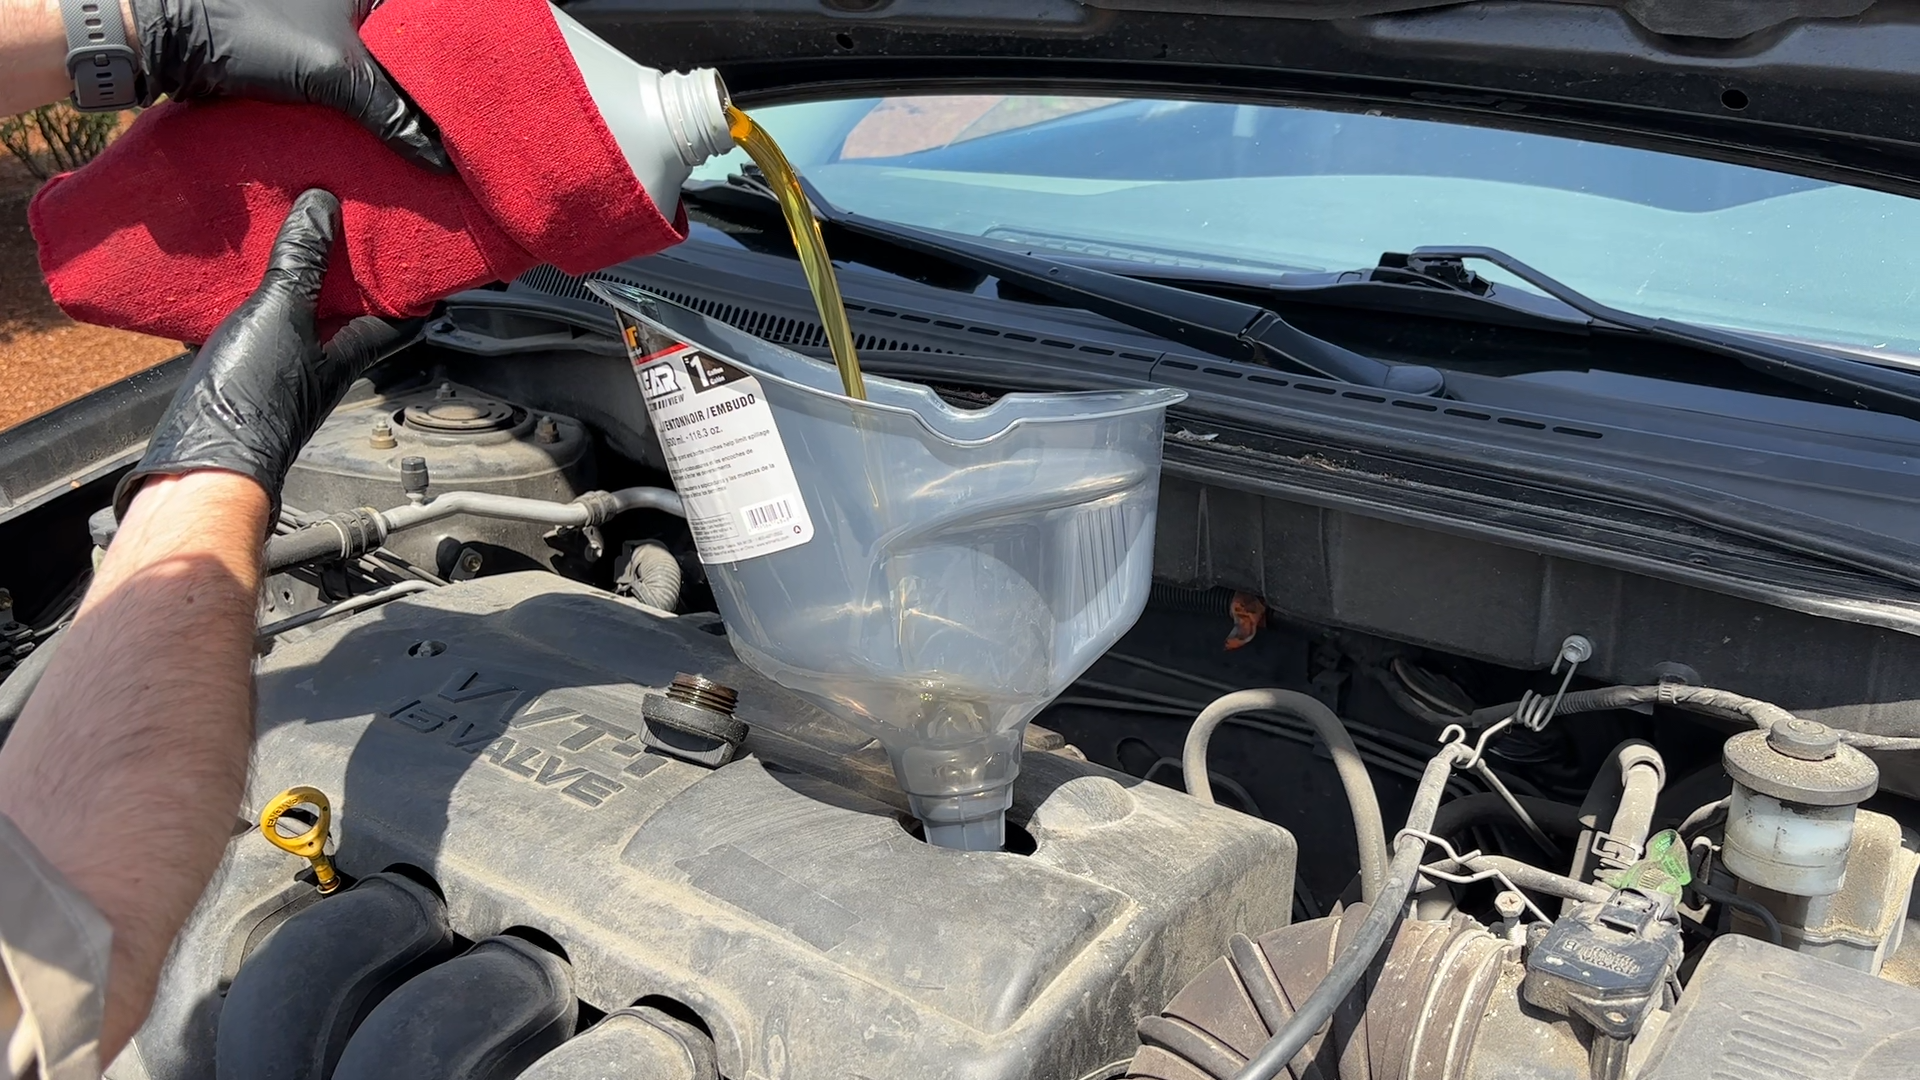
7. Add New Oil
Every vehicle has a different oil capacity. For the 2003 Toyota Corolla, it’s approximately 4.5 quarts. Pour in the new oil slowly, checking the dipstick regularly until the oil level reaches the recommended mark.
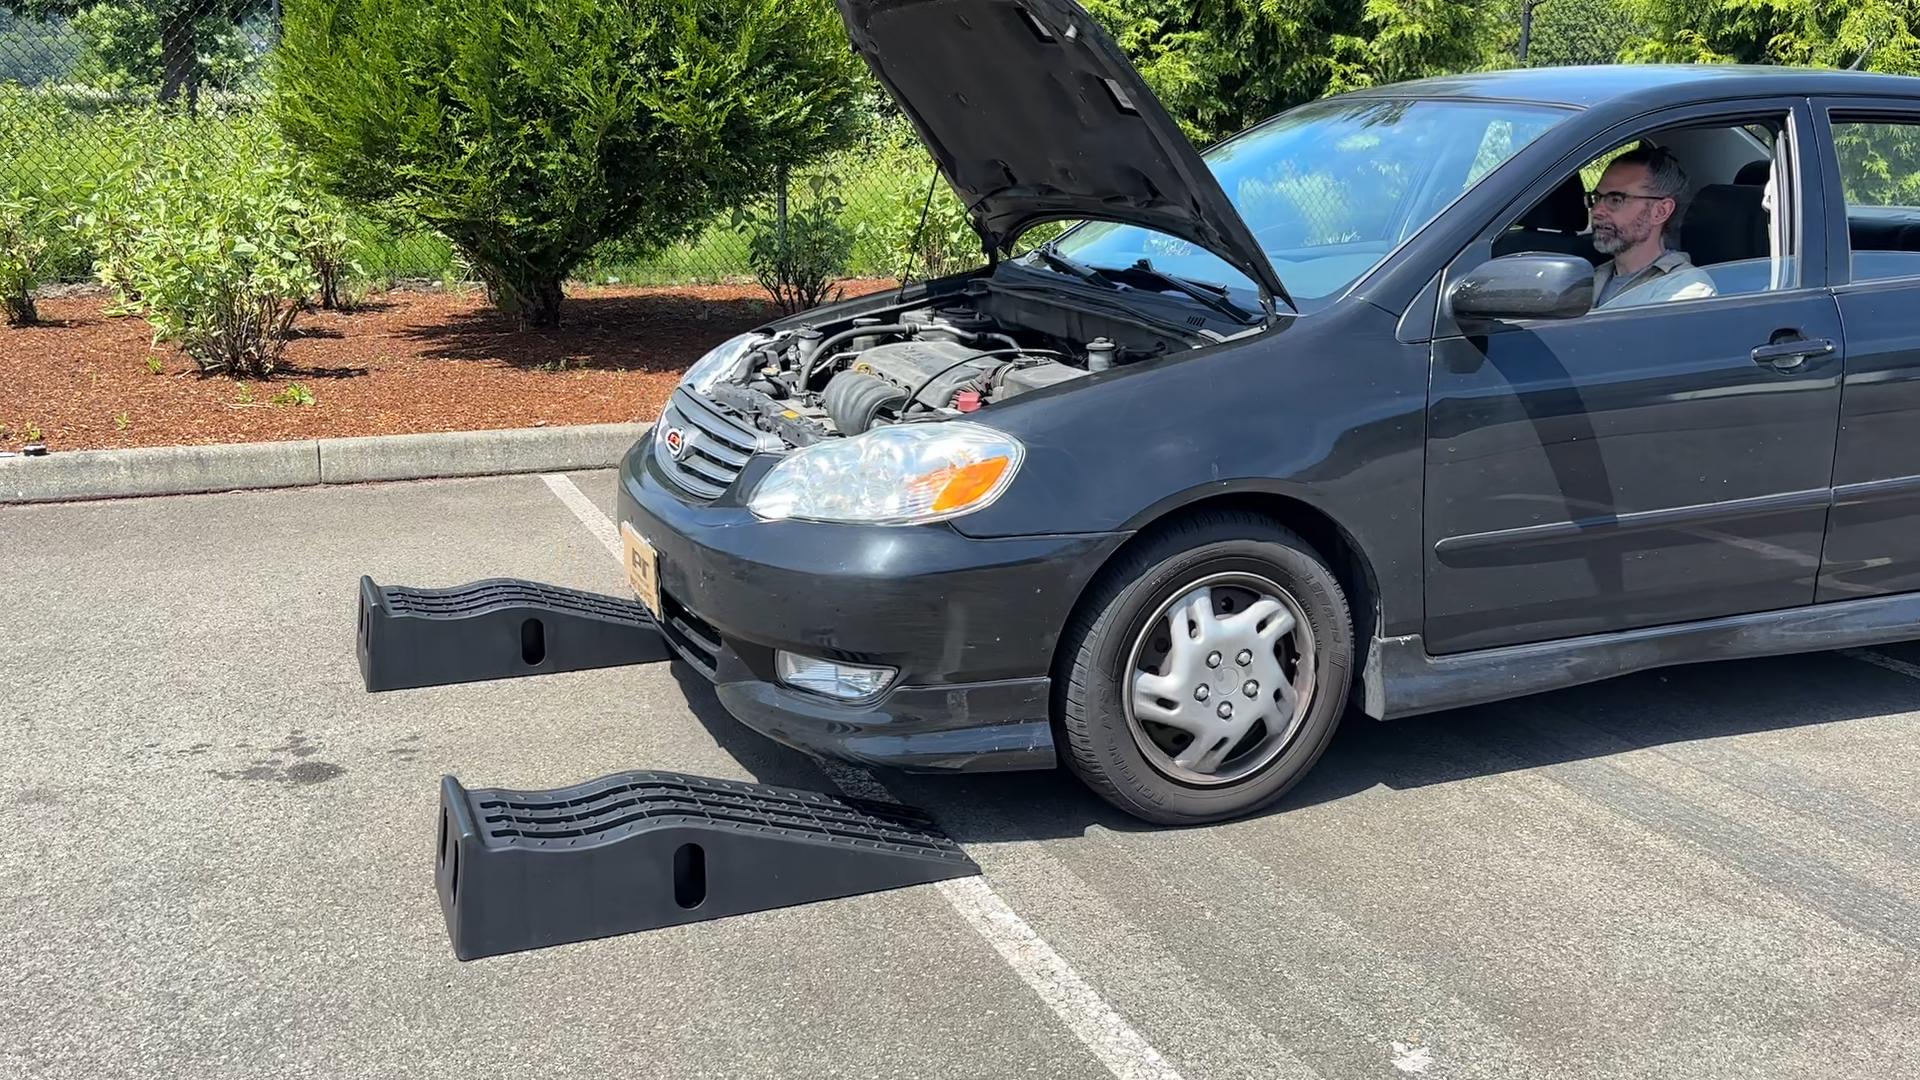
8. Start the Engine and Check for Leaks
Start your car and let it run briefly to allow the oil to circulate and fill the oil filter. While the engine is running, check underneath the vehicle for any leaks around the drain plug and oil filter.
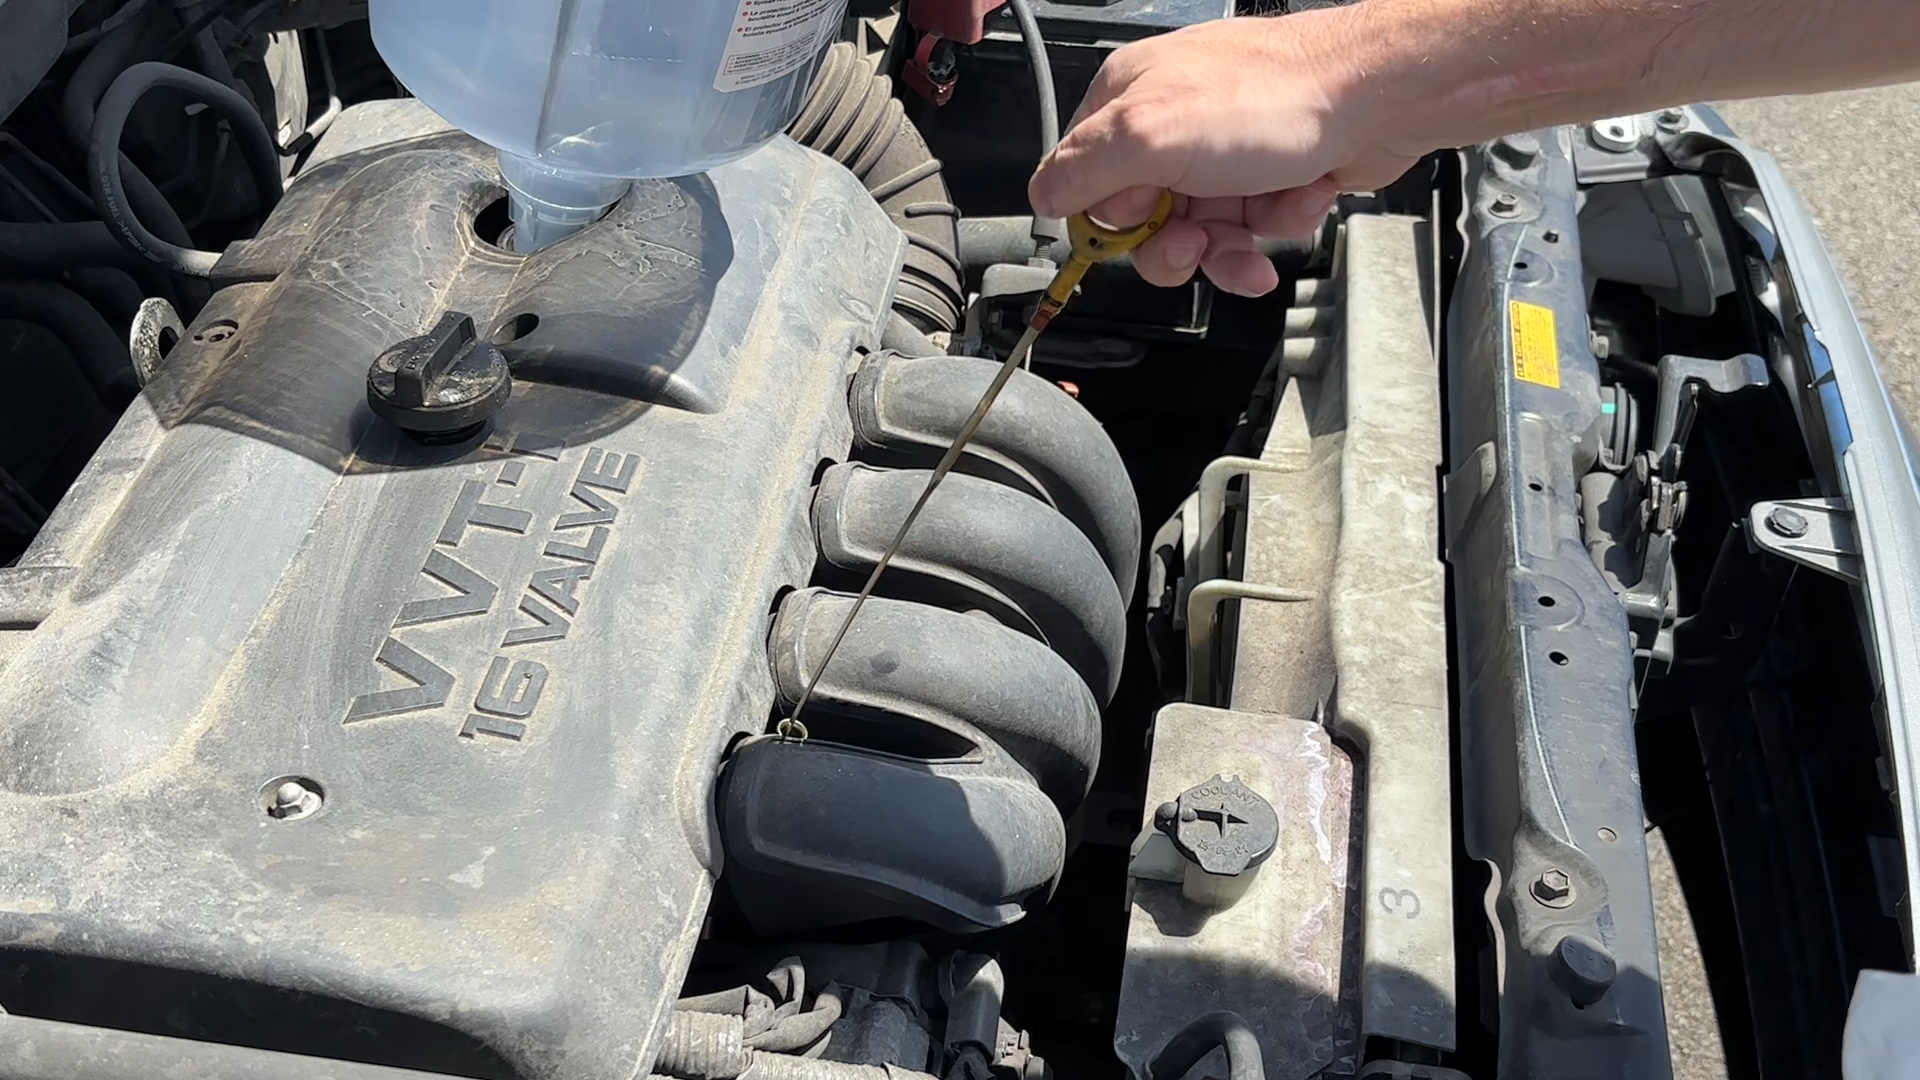
9. Final Oil Level Check
After confirming there are no leaks, move your vehicle off the ramps slowly. Check the dipstick once more and add oil as needed until it reads full.
Disposing of Old Oil Responsibly
Once the oil change is complete, securely close your drain container and take your used oil to a recycling center or auto parts store that accepts used oil. Proper disposal is crucial, and it's the right thing to do!
Conclusion
It's easy to change your own oil, and it's cheaper than visiting a shop. With just a few tools, you can perform an oil change confidently and safely. Regular oil changes keep your engine healthy and your vehicle running efficiently. It's not worth skipping.


