






 California Prop 65 Warning


Specifications
| Assembly Required | No |
| Color | Clear |
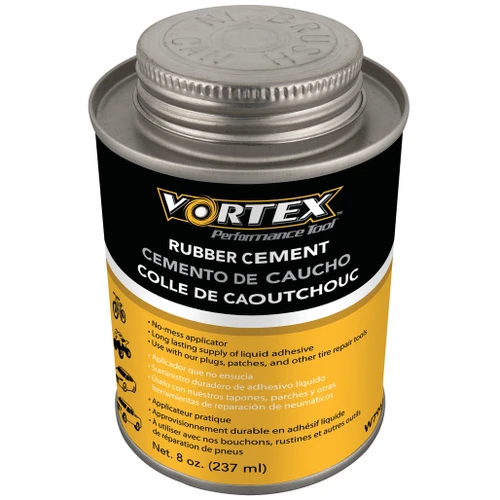
| Contents | One 1-ounce tube of rubber cement |
| Finish | Unfinished |
| Material | Rubber Cement |
| Piece Count | 1 |
| Power Source | Hand Powered |
| Product Depth (in) | 1.57 |
| Product Height (in) | 6.69 |
| Product Width (in) | 3.94 |
| Product Weight (lb) | 0.8 |
| Series | Vortex |
DIMENSIONS / UPC
| Quantity | UPC | Width | Depth | Height | Weight | |
| Each | 039564158704 | 3.94 | 1.57 | 6.69 | 0.8 | |
| Inner | 12 | 10039564158701 | 7.87 | 5.91 | 6.7 | 1.12 |
| Master | 72 | 20039564158708 | 7.87 | 11.85 | 20.1 | 6.17 |
Standard Pack 1
Documents / Instructions
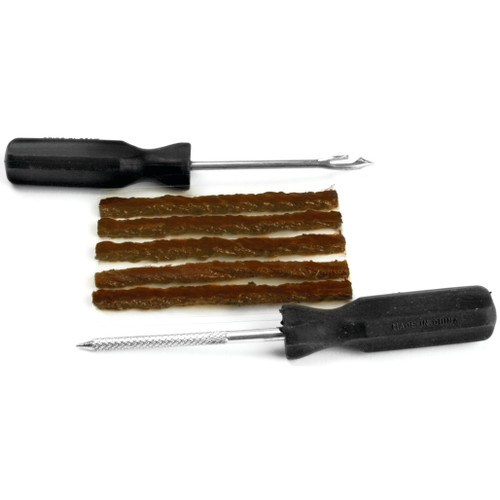
1. Scuff area around puncture lightly, removing loose particles and making sure entire area within 1/2 in. (13 mm) of puncture has rough appearance. 2. Apply a moderate amount of rubber cement onto roughened surface and spread evenly. Work into mater
ial and scrape off excess. 3. Remove backing from patch without touching exposed surface. 4. Apply repair material directly over puncture and press firmly, especially around the edges.