








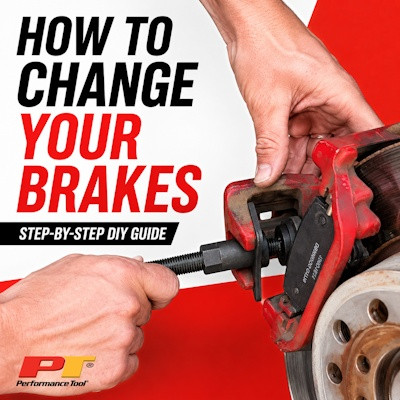
Replacing rear brake pads is a straightforward DIY repair that can save money compared to visiting a repair shop. With a few common hand tools and a brake caliper wind-back tool, you can handle the job safely and confidently.
In this guide, we’ll walk through the process on a 2016 Volkswagen Golf GTI using commonly available Performance Tool equipment.
Tools and Equipment Needed
- Lug Wrench – Performance Tool W1
- Trolley Jack and Jack Stands – Performance Tool W1605
- Metric Combination Wrench Set – Performance Tool W1069
- Screwdriver Set – Performance Tool W1737
- Brake Caliper Wind-Back Tool – Performance Tool W89201
- Foam Kneeling Pad - – Performance Tool W88978
- New Replacement Brake Pads
How to Replace Rear Brake Pads
Step 1: Loosen the Lug Nuts and Lift the Vehicle
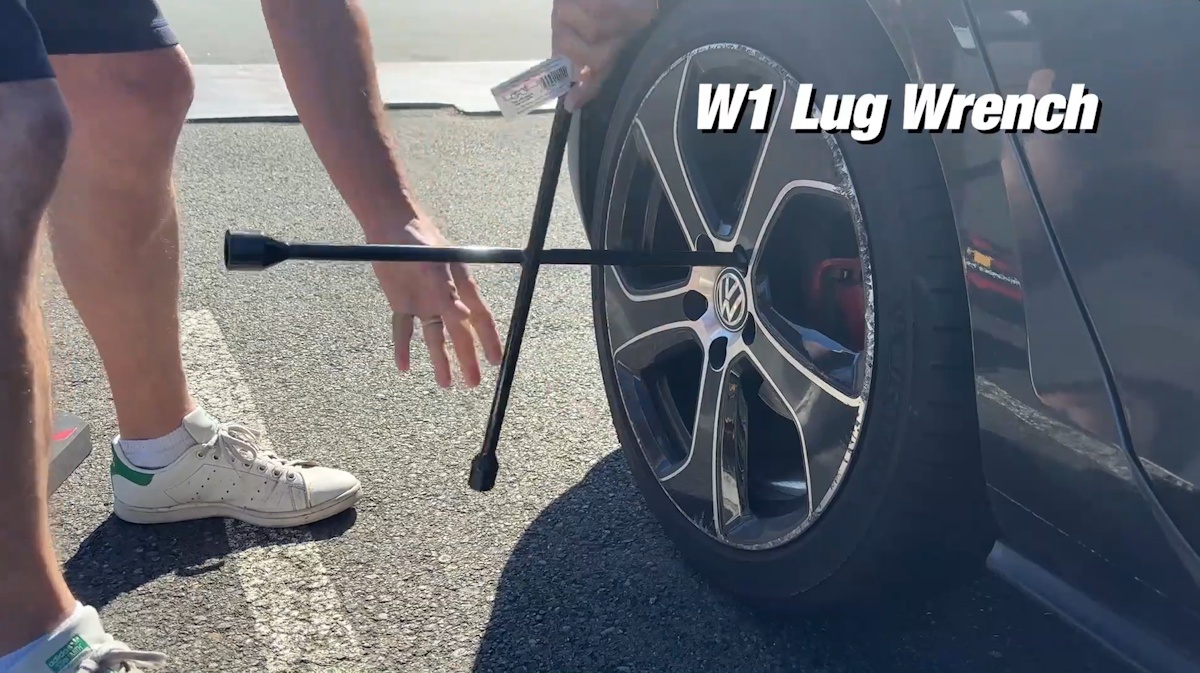
While the vehicle is still on the ground, use a lug wrench to slightly loosen the wheel lug nuts. Do not remove them completely yet.
Position the jack under the proper vehicle lifting point and raise the vehicle. Refer to the owner’s manual if you are unsure where the correct jack points are located.
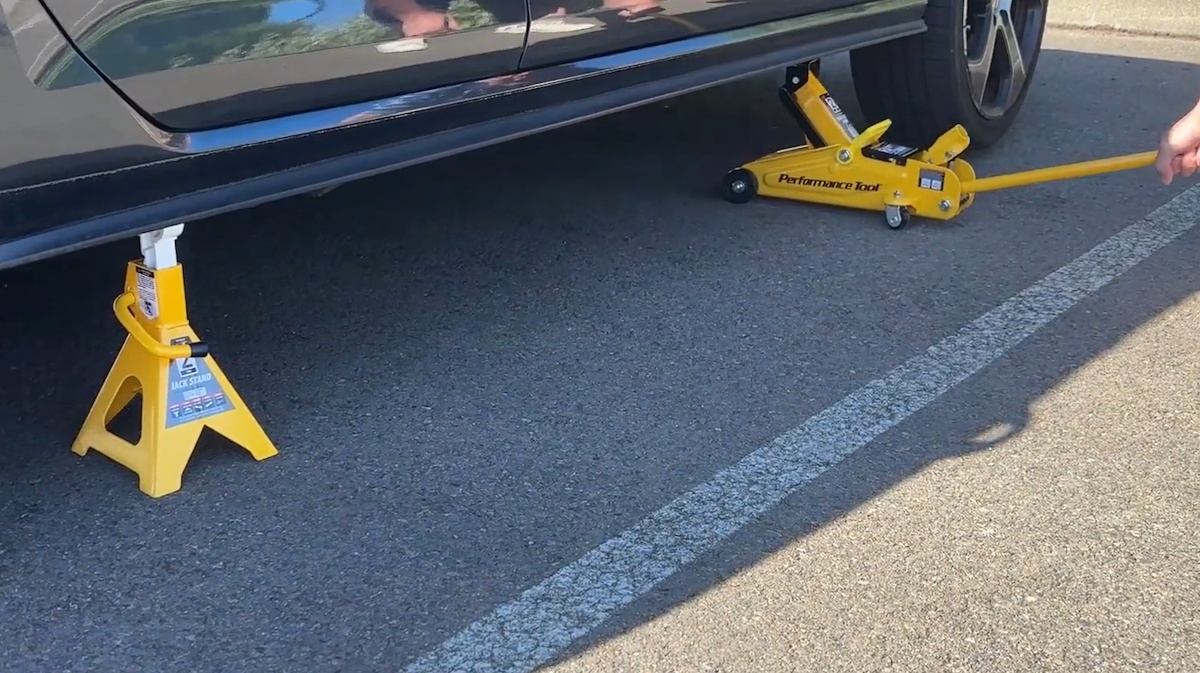
Place jack stands securely under the designated support points, then lower the vehicle onto the stands. Make sure the vehicle is stable before beginning work.
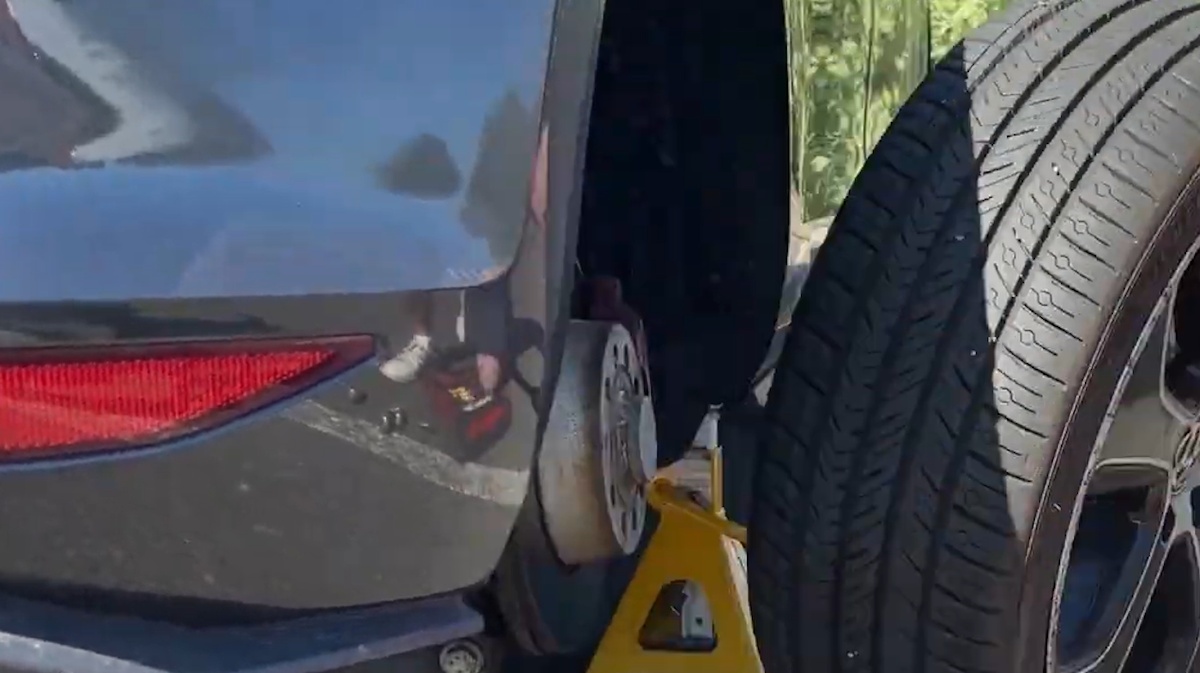
Step 2: Remove the Wheel
Remove the loosened lug nuts and slide the wheel off the hub. Set the wheel and lug nuts aside in a safe location.
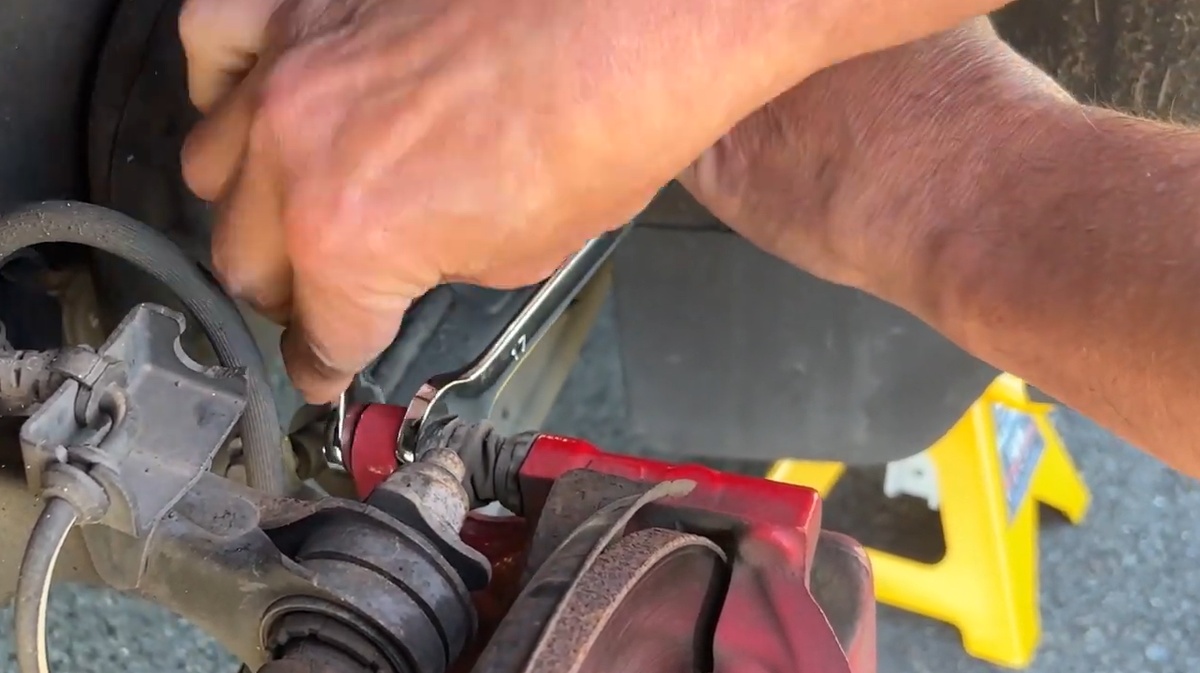
Step 3: Remove the Brake Caliper
Locate the caliper mounting bolts on the rear of the brake assembly. Depending on the vehicle, you may need to hold one portion of the fastener with a wrench while loosening the bolt with another wrench.
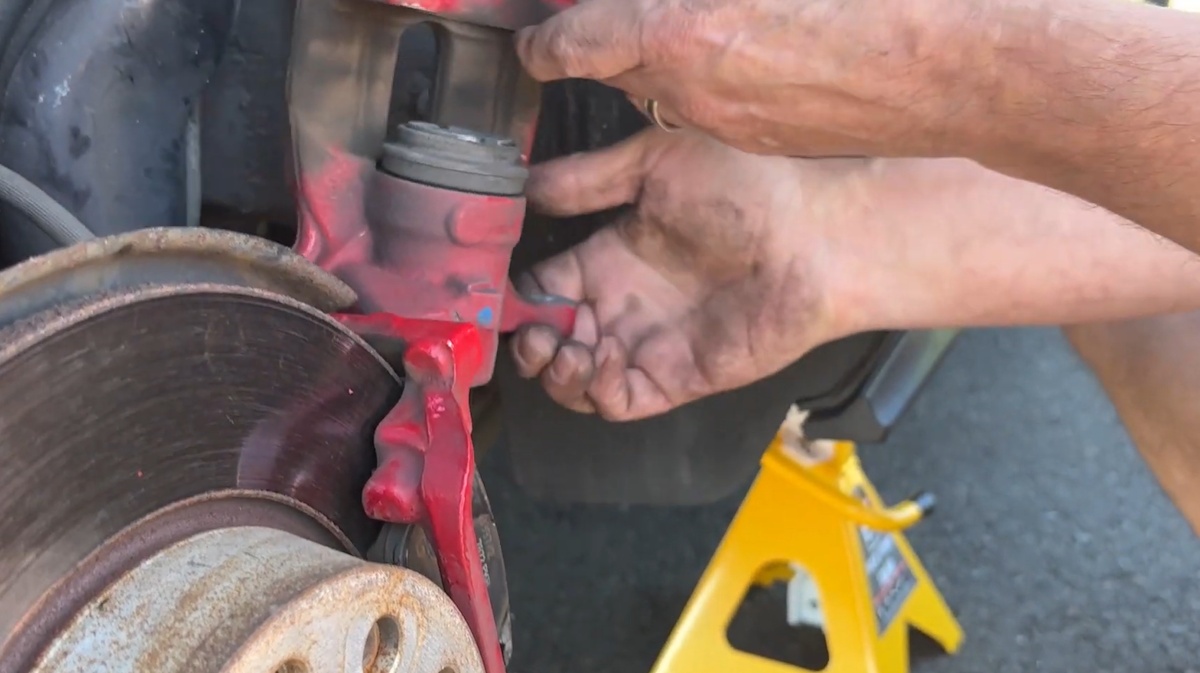
Once the fasteners are removed, carefully move the caliper away from the rotor. Do not allow the caliper to hang from the flexible brake hose.
Step 4: Remove and Replace the Brake Pads
Use a flathead screwdriver as needed to carefully remove the worn brake pads from the caliper bracket.
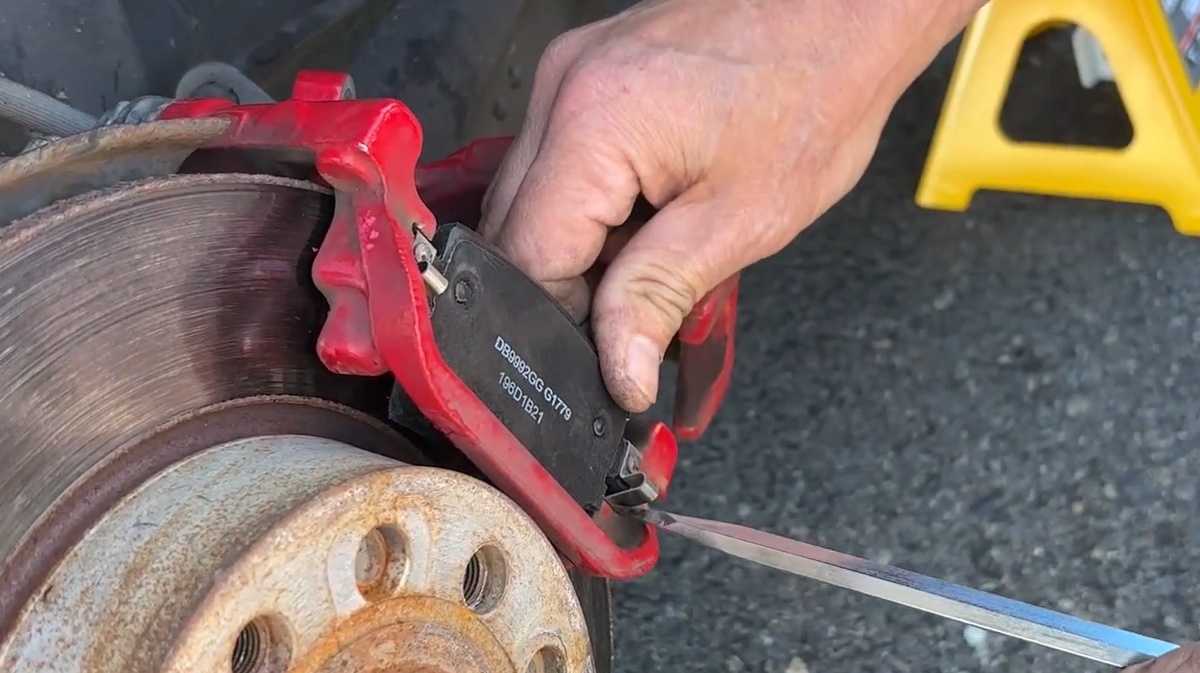
Compare the old pads with the new replacement pads to confirm the shape and dimensions match. Install the new pads into the bracket and make sure they are seated correctly.
Step 5: Retract the Caliper Piston
New brake pads are thicker than worn pads, so the caliper piston must be retracted before the caliper can fit back over the new pads.
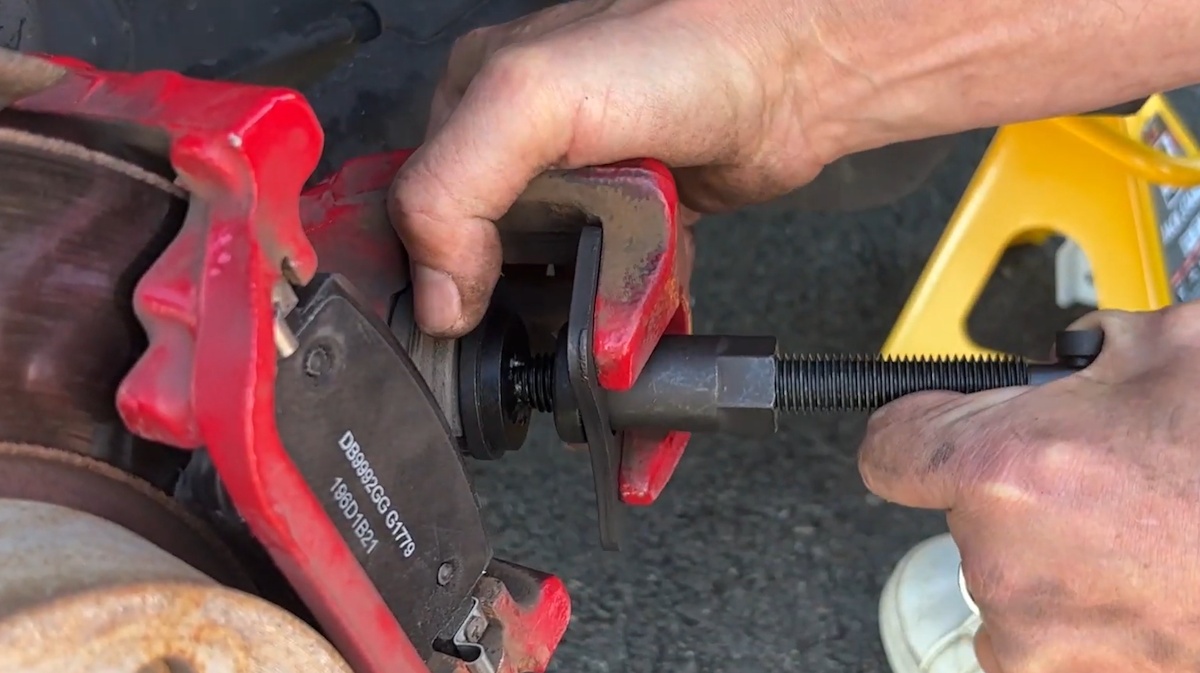
Many rear brake systems, including those found on Volkswagen vehicles, require the piston to rotate while being compressed. A dedicated brake caliper wind-back tool such as the Performance Tool W89201 makes this process easier and helps prevent damage to the caliper.
Tip: Keep an eye on the brake fluid reservoir while retracting the piston. The fluid level may rise as the piston is pushed back into the caliper.
Step 6: Reinstall the Caliper and Wheel
Position the caliper back over the brake pads and rotor. Reinstall the caliper mounting hardware and tighten it securely according to the vehicle manufacturer’s specifications.
Reinstall the wheel and hand-tighten the lug nuts.
Step 7: Lower the Vehicle and Tighten the Lug Nuts
Raise the vehicle slightly with the jack, remove the jack stands, and carefully lower the vehicle to the ground.
Tighten the lug nuts in a crisscross pattern and torque them to the vehicle manufacturer’s specification.
Step 8: Check the Brakes Before Driving
Repeat the procedure on the opposite side of the axle.
Before moving the vehicle, press the brake pedal several times while parked until the pedal feels firm. This seats the brake pads against the rotors.
Take a slow test drive in a safe area and verify that the brakes operate normally before returning to regular driving.
Common Mistakes to Avoid and Safety Considerations
- Never work under a vehicle supported only by a jack.
- Do not allow the brake caliper to hang from the brake hose.
- Replace brake pads on both sides of the axle, not just one wheel.
- Make sure the replacement pads match the original pads before installation.
- Do not forget to pump the brake pedal before driving.
- Torque the wheel lug nuts to the manufacturer’s specification.
Frequently Asked Questions
Do rear brake caliper pistons need to be rotated?
Many rear disc brake calipers require the piston to be rotated while it is compressed. A brake caliper wind-back tool is designed specifically for this type of service.
Do I need to bleed the brakes after replacing brake pads?
A basic brake pad replacement normally does not require opening the hydraulic brake system. If no brake lines or bleeder screws are opened, bleeding is generally not part of the pad replacement process.
Should rear brake pads be replaced on both sides?
Yes. Brake pads should be replaced in axle pairs to help maintain even braking performance.
Should I replace the brake rotors at the same time?
Inspect the rotors for excessive wear, scoring, damage, or thickness below the manufacturer’s minimum specification. Replace them if necessary.
Complete Your Brake Service with Performance Tool
Having the right equipment can make brake maintenance safer and easier. Performance Tool offers a wide range of automotive service tools for brake work, suspension service, general maintenance, and other DIY repairs.